Survey bar allows you to quickly poll your students to assess understanding. A simple and easy-to-use bar appears over the top of any webpage or software application, allowing you to ask verbal questions and collect student responses.
Sample:
Survey Bar (without Instructor Remote)
- Double-click on the Survey icon.
- The Presentation Setup window appears.
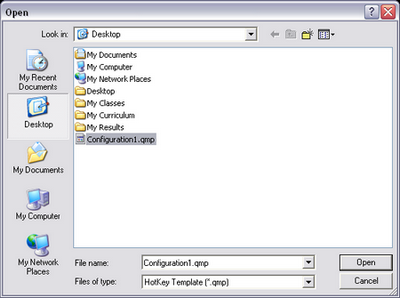
- Select a participant list.
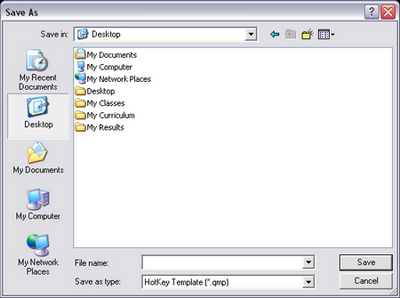
- Select how results will be saved.
- Select presentation mode (Normal).
- Select Chart settings.
- Click on OK to begin the presentation.
- Turn on all remotes.
- Re-position Survey Bar, as needed.
- Click
 to add a new question then select question type and answer. You may need to expand the Survey Bar to see the question options.
 - Click
 to pose the question.
 - To stop posing the question to the remotes, click the blue arrow to expand the Survey Bar. Then, click
 .
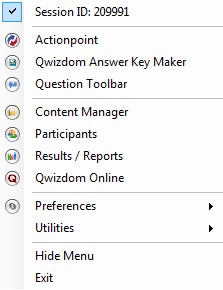
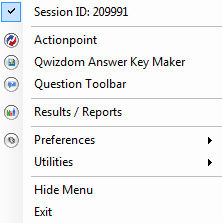
. - At the end of the session, click the Q and select Exit from the drop-down menu.
Survey Bar (with Instructor Remote)
- Double-click on the Survey icon.
- The Presentation Setup window appears.
- Select a participant list.
- Select how results will be saved.
- Select presentation mode (Normal).
- Select Chart settings.
- Click on OK to begin the presentation.
- Turn on all remotes.
- The Survey Bar will appear at the top of the screen.
- Press the New Q button on the Q5RF instructor, the (6) on the Q6iRF, or the
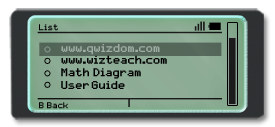
 icon on the Q7 tablet. A list of question types will appear on the LCD.
 - Scroll through the different question types and select desired question.
- You can select the correct answer and press Send; or press Send without selecting a correct answer (survey).
- Participants will send their responses.
- Display results to the group by clicking on the (/) button on the Q5RF, the (3) on the Q6i, or the
 on the Q7 Presenter Tablet.
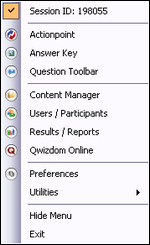
 - At the end of the session, click the Q and select Exit from the drop-down menu.