Introduction

Qwizdom Notes+ Overview

The free Qwizdom Notes+ App allows users to join live presentations and collaborate in real-time. This all-in-one solution enables screen mirroring, presentation capture, and polling. Users can add media, share annotations, take notes, answer questions, and review content post session.

In addition, Notes+ can be used as a scratch pad or note taking application. Quickly organize thoughts and illustrate concepts using media capture, shape, text, and drawing tools.

The Qwizdom Notes+ App is available from the Google Play Store, Apple App Store, and Windows Store.


appStore

playStore


Notes +Features:

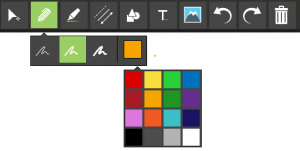
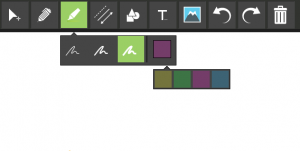
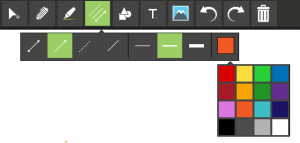
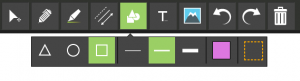
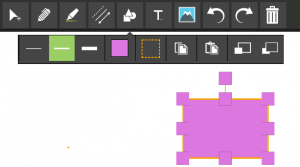
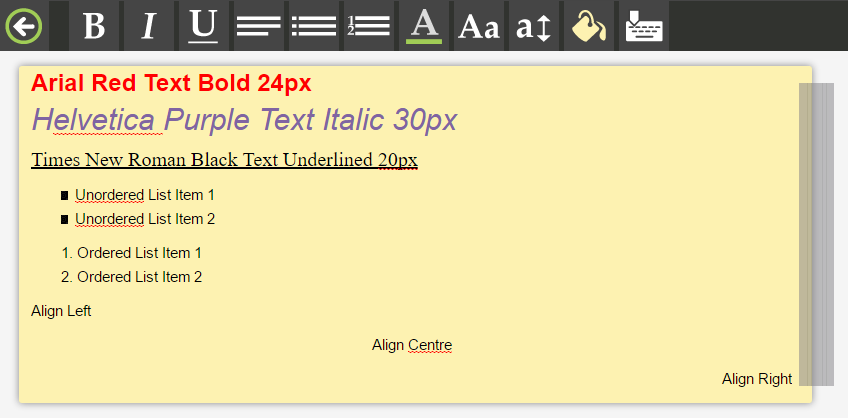
  • Drawing, Text, & Shape Tools
  • Note Taking
  • Polling Tools
  • Lesson Saving
  • Annotation Sharing
  • Local Network Communication
  • Available in 40+ Languages


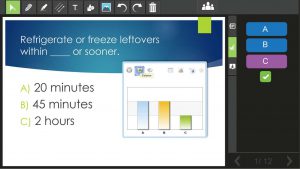
Once opened, the Notes+ app will look similar to the following image. Inthis mode, Notes+ can be used as a scratch pad or note taking application.


NotesPlus Screenshot


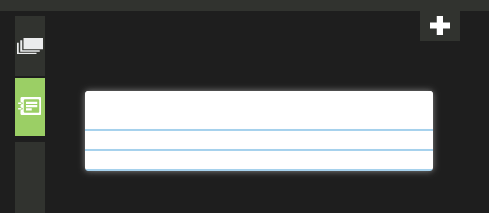
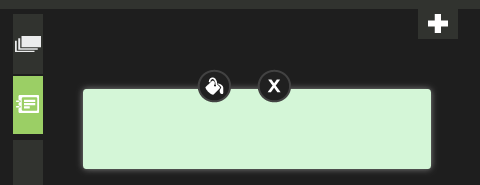
The area on the right hand side contains tabs for making notes, viewing slides, and answering questions posed by the presenter.


0 people did not find this helpful

Back To Top

Menu System

File Menu

New

Choose “New” to open a new, blank drawing canvas. If your canvas already contains objects, you will be prompted to save your work first.

Open

Opens a previously saved canvas / lesson

Save

Save your current canvas including all slides

Join Session

Allows you to join a collaboration session started with Qwizdom Connect, Qwizdom Actionpoint, or Qwizdom OKTOPUS.

Find Session

Automatically scans the network and shows any current collaboration sessions. Available sessions will be listed by computer name, user account, and IP address. Tap to join.


Please note: “Join Session” is the only menu option available when connecting via a web browser.

0 people did not find this helpful

Back To Top

Settings Menu

Language

Choose from over 40 languages.

About

Shows the current version of Notes+ which you may be asked for when seeking support.

Help

Directs to this help site.

0 people did not find this helpful

Back To Top

Canvas / Drawing Tools

Pen / Highlighter

pen-tool highlighter-tool

Tap the pen or highlighter icons to reveal 3 thickness options and multiple color options. Tap your desired thickness and color, then start drawing.

The pen tool is opaque and the highlighter is semi-transparent.

0 people did not find this helpful

Back To Top

Lines

line-tool

Tap the line icon and choose from 4 arrow types (double arrow / single arrow / dashed / solid), 3 thickness settings, and multiple color choices.

After making your selection, tap and drag to draw the arrow.

Once the arrow has been drawn, the cursor tool will be invoked and allows you to resize, preposition, rotate, and re-color your line.

0 people did not find this helpful

Back To Top

Shapes

shapes-tool

Use the shapes tool to draw triangles, circles, and squares.

You can control the line thickness, fill color, and line color for each shape. After making your selection, tap and drag on the canvas to create it.

After the shape has been drawn, the cursor tool will be invoked and you can resize, reposition, rotate, and change the color properties of your shape.

You can also copy, paste, and send backwards/send forwards, or delete the shape.

shape-selected

0 people did not find this helpful

Back To Top

Text

Tap the text icon to begin typing.

There are many formatting controls such as bold, italic, underline, alignment, lists, font color, font size and font family.

You can also click the backgrounds icon to cycle through various background colors.

When you are finished entering text, click the “back” arrow to confirm.

It will be placed onto the canvas. When the text object is selected, you can tap the pencil icon to edit the contents.

0 people did not find this helpful

Back To Top

Images

image

There are three options in the image menu:

  1. Take an image using your device
  2. Choose an image from our built-in image library
  3. Upload an existing image from your device


Once you have inserted your image, you can resize, reposition, and rotate it. You can also copy, paste, send forwards / backwards, and delete.

0 people did not find this helpful

Back To Top

Note Taking

Adding Notes

In Notes+ it is possible to add text notes to slides.

To add a note, tap the “Notes” icon on the right-hand toolbar then tap the “+” icon at the top right. A new note will appear.

add-note


When you tap on the note, you can start typing into it immediately. The height will expand automatically as required.

The background icon cycles through various colors and the “X” icon will delete the slide.

add-note-change-color

Press the “+” icon again to add further notes.


0 people did not find this helpful

Back To Top

Joining a Presentation

Connecting using the app


  1. Open the Notes+ app on the device
  2. Press Fileand then press Find Session
  3. A list of available sessions will appear.
  4. Tap the session you wish to join.

Note: If the session does not appear, network discovery may not be available. In this scenario, press File > Join Session. Enter the IP address supplied to you by the presenter. The port number should be left as 8081 when using the Notes+ app.


0 people did not find this helpful

Back To Top

Connecting using a web browser

  1. Open a web browser
  2. Enter the IP address supplied by the presenter, followed by port 8080.
    For example, if the presenter’s IP address was 192.168.1.10, in the URL bar, you would type http://192.168.1.10:8080
  3. Press the return/enter key or click the “Go” button beside the URL bar.

Note: The browser version does not contain the same feature set as the app, such as saving and adding notes.

The app or browser will now attempt to connect to the presenter’s live session. If the presentation was live before the app connects and the presenter has already annotated or navigated through slides, all previous actions are sent to the app to ensure that the participant receives the entire presentation thus far.

0 people did not find this helpful

Back To Top

Collaborating and Polling

Collaborating

When Notes+ is connected to an active collaboration session (from Qwizdom Connect, Qwizdom Actionpoint, or Qwizdom OKTOPUS), you will receive screenshot updates from the presenter’s computer.

You will be able to make your own notes by using the annotation tools or by typing text notes. When the presenter moves forward a slide, you will be able to add new annotations and new notes for that slide.

These annotations and text notes will be saved when you save your session, and can be loaded at a later date for review or revision purposes.


If the presenter chooses, they can enable collaboration for your device. When this happens, you will see a “share” icon appear.

share-icon


When you tap this icon, all annotations you have created will be sent to the presenter device, and then shared out to all other connected devices as part of a new screenshot.

Note that when this happens, you will no longer be able to edit your annotations as they have become part of the presentation.


0 people did not find this helpful

Back To Top

Polling

When Notes+ is connected to an active collaboration session (from Qwizdom Connect, Qwizdom Actionpoint, or Qwizdom OKTOPUS), the presenter can pose questions to your device.

When this happens, you will see question options appear on the right hand side of the screen. The question and answer choices should also appear on the main window.


polling


Tap the answer you wish to send. In some cases you will be required to press the “submit” button, eg for numeric, text, or questions where there may be more than one answer.

Depending on settings chosen by the presenter, you may receive feedback as to whether your answer was correct or incorrect. If there is no correct answer set or if feedback is not enabled, you will see a tick and an X appear together to show that you have answered.


0 people did not find this helpful

Back To Top