You will need to purchase a QVR Presenter license to use this feature. Email info@qwizdom.com for pricing details.
To begin a QVR presentation follow the steps below:
- Select an activity, then click
 Present to begin setting up a presentation.
 - In the Presentation Setup window, select the presentation options (i.e. Participant List, Save Results, and Present As). See Presentation Setup for details.
- Click on Device Settings tab. Check Enable Internet-Based Communication. Click OK to present.
- Login with your credentials. (If you have not registered, click on the ‘New User’ link at the bottom of the window.)
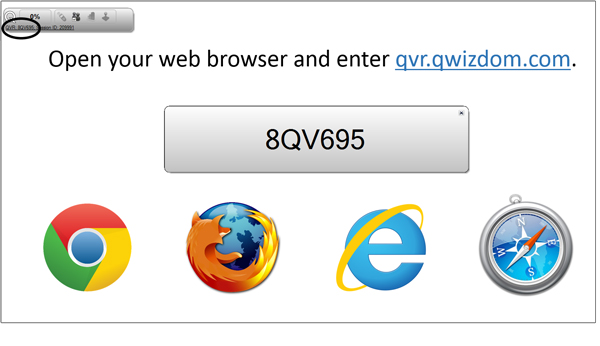
- The Session ID will appear on the Qwizdom Toolbar. Click on the link to make the QVR Session ID number large. It’s helpful to create an instructional slide to help users login in.

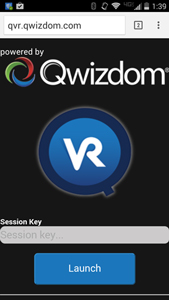
- Instruct participants to login to the QVR session at qvr.qwizdom.com using a browser of their choice; or download the Qwizdom QVR app from the Google Play or Apple App store.
- In the QVR window, instruct participants to login with the 6 digit QVR Session ID number and then press Launch.

- Participants may be asked to enter a User ID if you selected a class list in the Presentation Setup window.
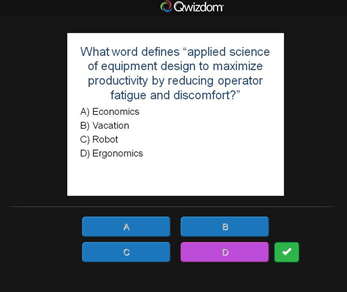
- Participants will see the presentation via their personal web-enabled device. If the show right/wrong feedback feature is turned on in the Presentation Settings window a green check mark will appear if the participant answered correctly. If an answer is incorrect, a red X will appear.

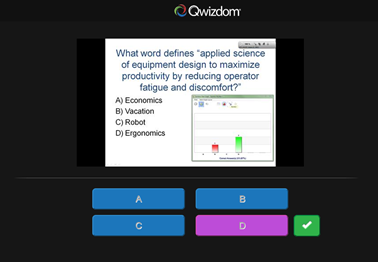
- The instructor can display a chart showing the results of all other users currently in the presentation.

- At the end of the presentation, this window will appear:

